The process of laying herringbone has overtaken the bulk of practices regarding tiles. Amidst the specific patterns that are trendy in the market, the herringbone is of a different class. It is also a straightforward yet unique pattern that can enhance whatever theme or template you have in mind. The earliest of the herringbone tile pattern dates as far back as the Roman Empire.
The earliest of these herringbone tiles were used as solid structures on stone and made them very durable and long-lasting. They were built on crushed rocks, which became a solid foundation for stability and durability. At the same time, homeowners can freely incorporate them within their space. You can also learn to lay these herringbone tiles at your favorite places, including the interior and exterior parts of the home.
Furthermore, before buy subway tile, learn different patterns that are associated with the herringbone subway tiles. Some of the standard options include the
- Herringbone pattern itself
- Double herringbone pattern
- Brick bond pattern
- Wood strip pattern
- Mosaic pattern
- Stack bond pattern
But regardless of the place where you install any of the patterns above, living room, bathroom, or kitchen, you can still enjoy the bliss that the herringbone tiles bring. Below are some of the trendiest information on applying the herringbone pattern for stunning looks. However, we need to organize our styles to be easy for you to remember and use them appropriately when the need arises.
Diagonal Patterns to Create a Flow or Movement
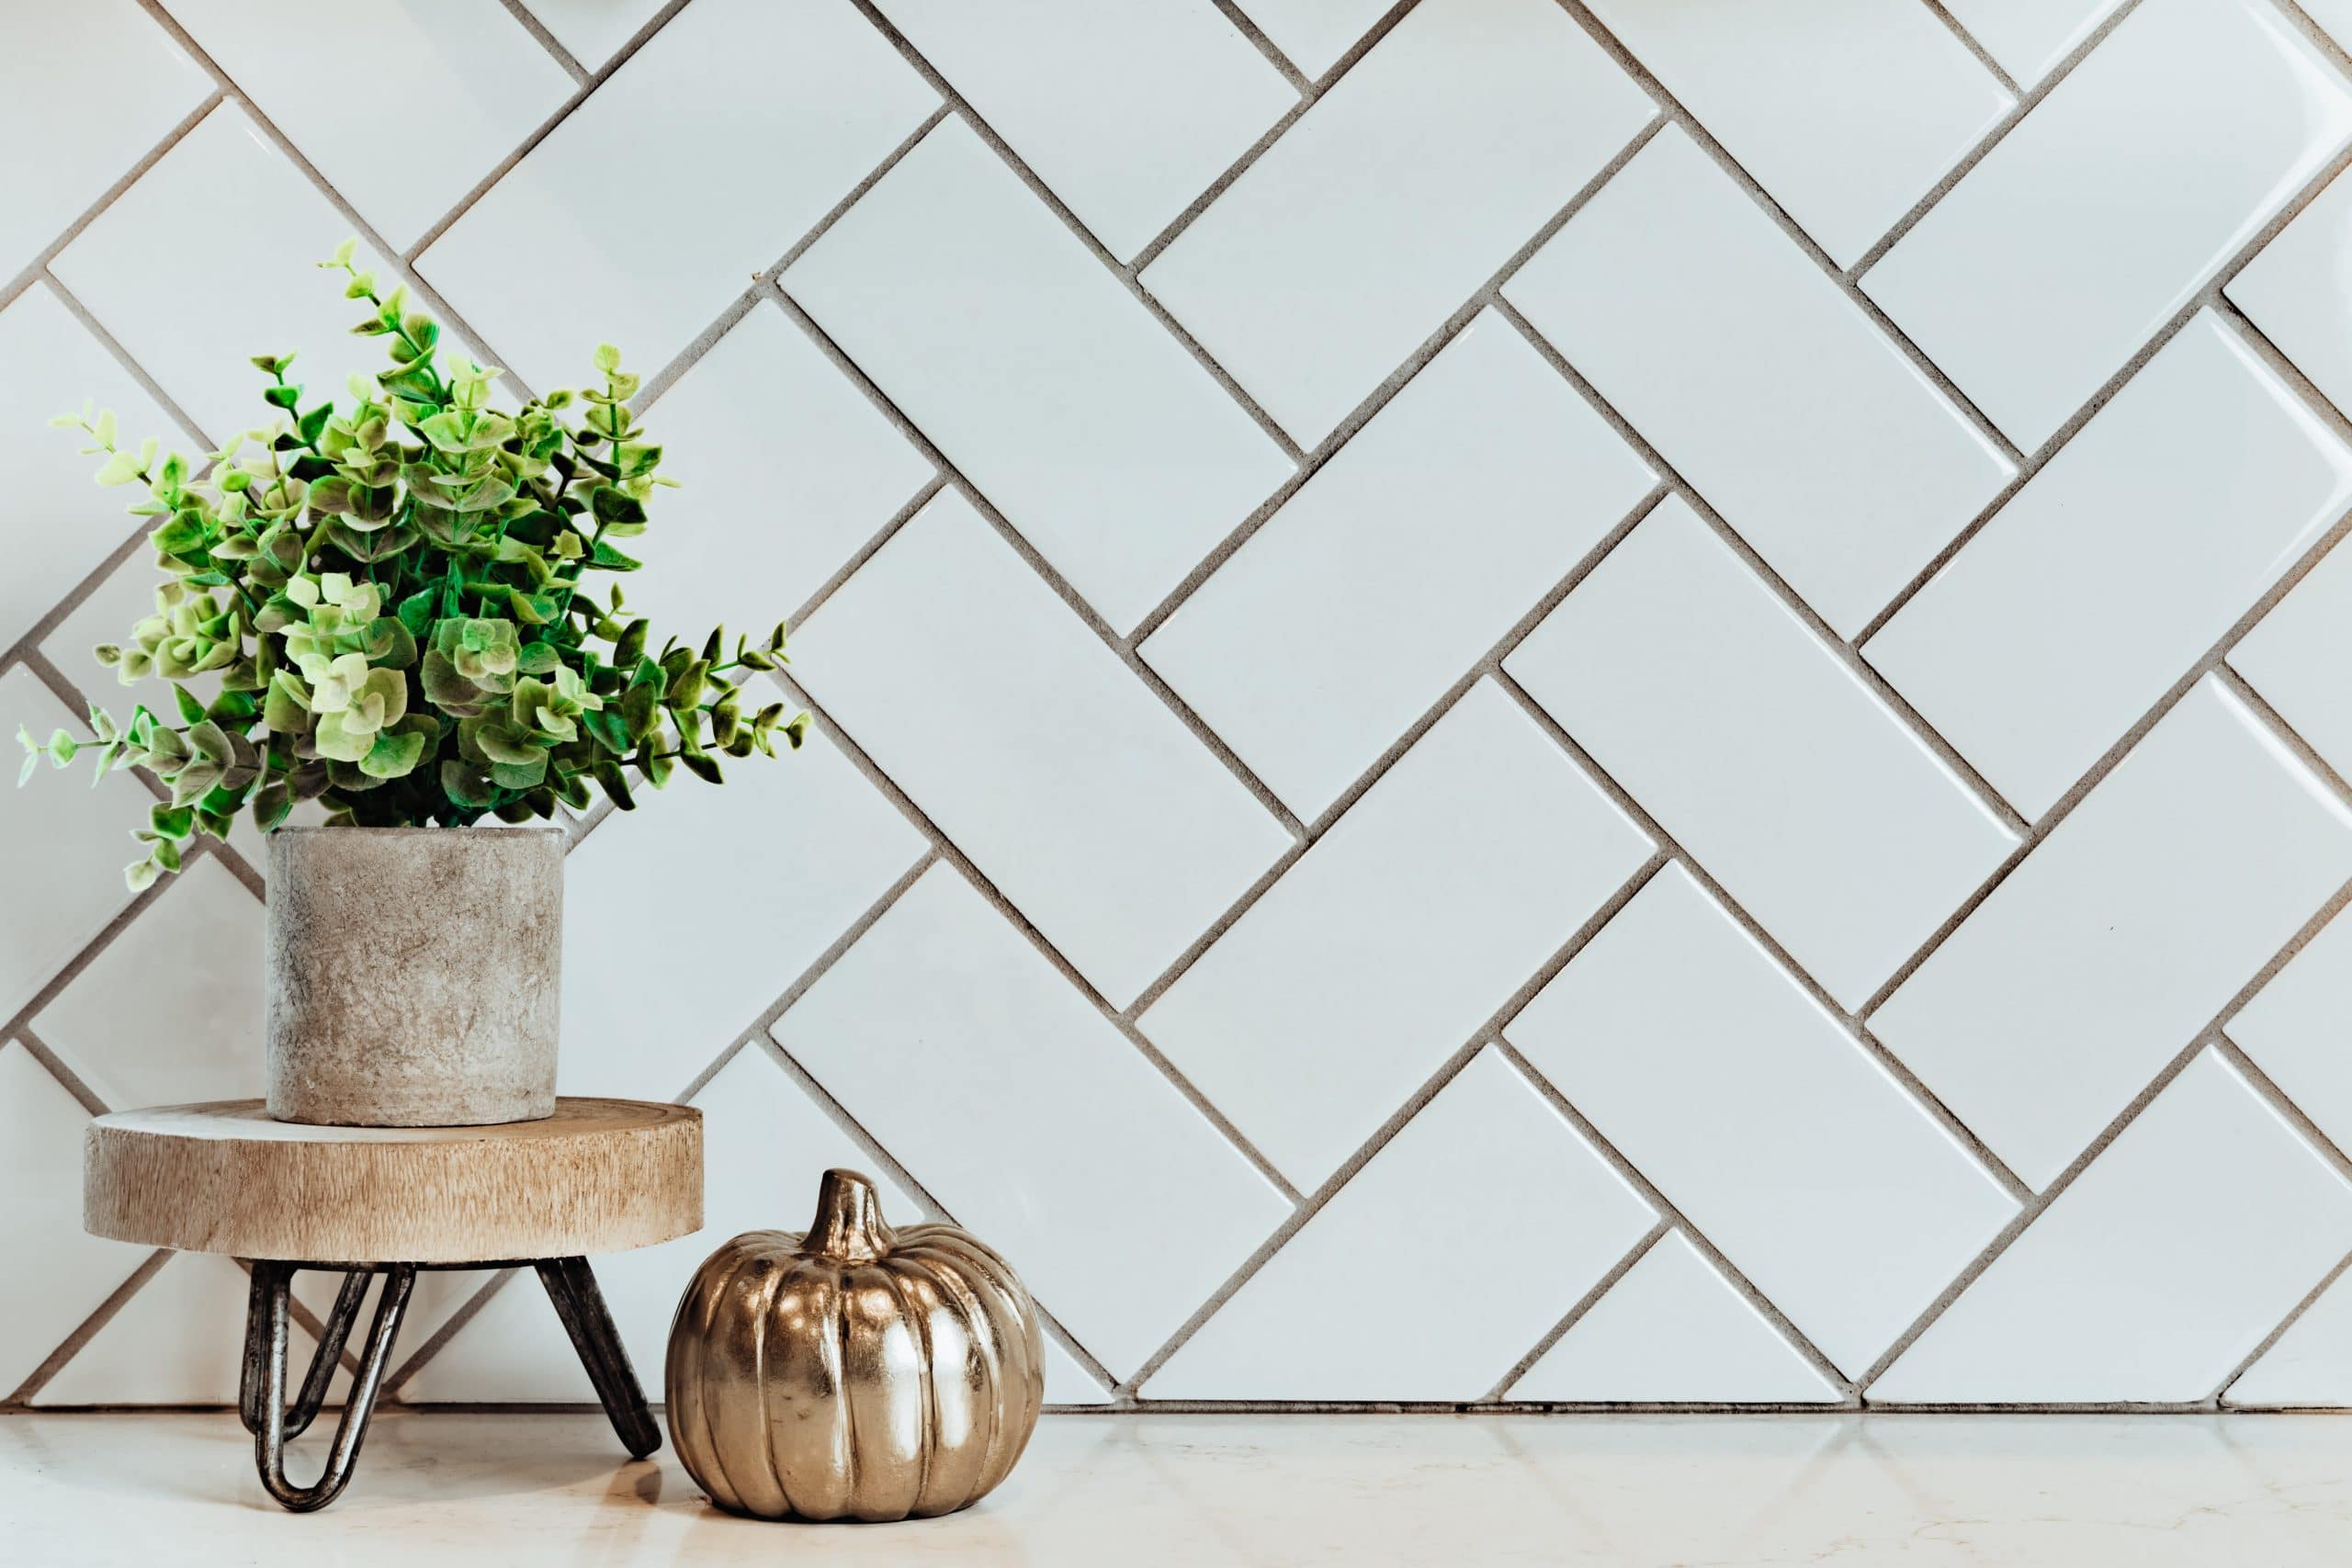
As this category sounds, the diagonal class of different patterns for herringbone tiles has a slant arrangement or layout. It, therefore, requires that care is taken to set them in the rightful places and maintain the same angle throughout the process of laying. At the end of the project, no one can doubt that a meaningful time has been invested in the process to give that beauty.
Meanwhile, this pattern flow gently leads the eyes to the room’s corners rather than staying on the walls. This movement of the eyes creates an illusion of a bigger space where this pattern is used. Therefore, the best place to apply these diagonal patterns is where the area of the room is limited in one way or the other. You can also choose the designs from the diagonal category if you want homeowners to instantly notice the visual appeal of the flooring method.
Single herringbone tiling pattern
The single herringbone pattern refers to a subtle way of using these tiles. It adds a personality to the flow. However, it avoids an overwhelming look within the elegance. Otherwise, any similar pattern creation may have a hefty price tag. Still, this single herringbone simply brings in affordable style.
Double herringbone tiling pattern
The double herringbone pattern adds extra width to the space to make it look bigger. It can also give a historical feel for the perceived area and work for limited spaces. Such double herringbone is cool and perfect for shower enclosures and bathroom floors of the home. Unlike the single herringbone pattern, a double herringbone also entails doubling each tile.
Other herringbone tiles patterns that can stun your client
Once you have successfully made a good impression on your clients of what you can do, you can introduce some of these irregular patterns. These patterns can also work to bring out the shining core attribute of these tiles. Below are some of the related herringbone patterns that are worth mentioning.
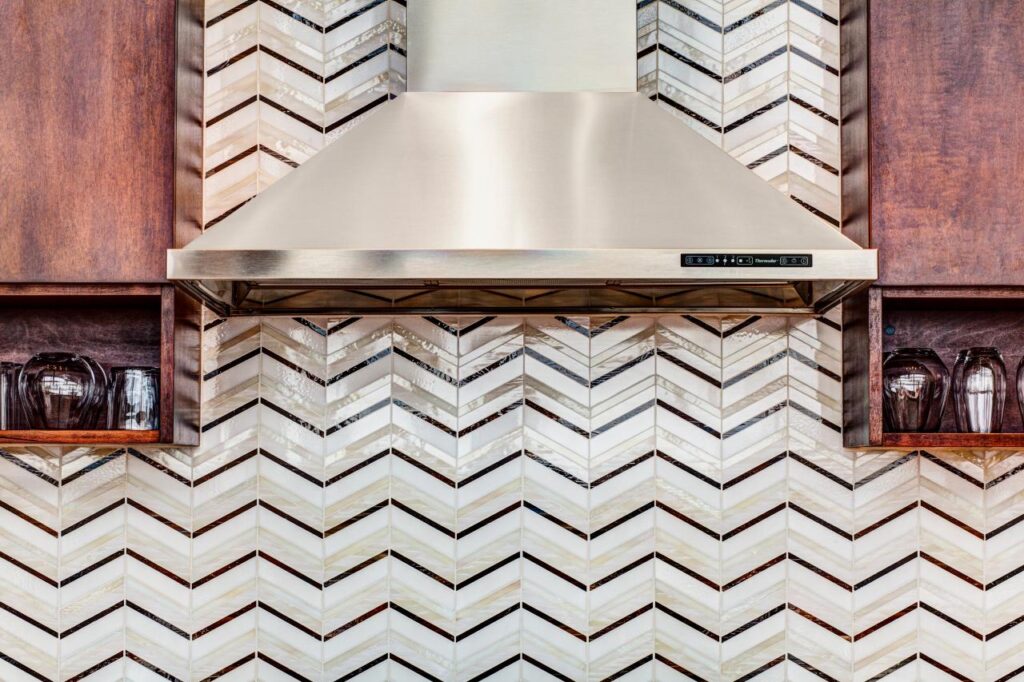
Ombre Fading Patterns
The ombre pattern is a perfect way to show off your stunning look for spaces like your kitchen backsplashes. Other places to apply the ombre herringbone pattern include the shower tiles and bathroom floors. At the same time, you can integrate this pattern into different shades with various colors and contrast from dark to light.
This method can also enhance the designer’s chances of adding a layer of personality into the interior buildup. Perhaps, the most notable sign of the ombre tile pattern is its introduction. It can be soft and subtle or bold and bright, all simultaneously. Honestly, the possibilities that a designer can make out of the ombre pattern of herringbone tiles are infinite.
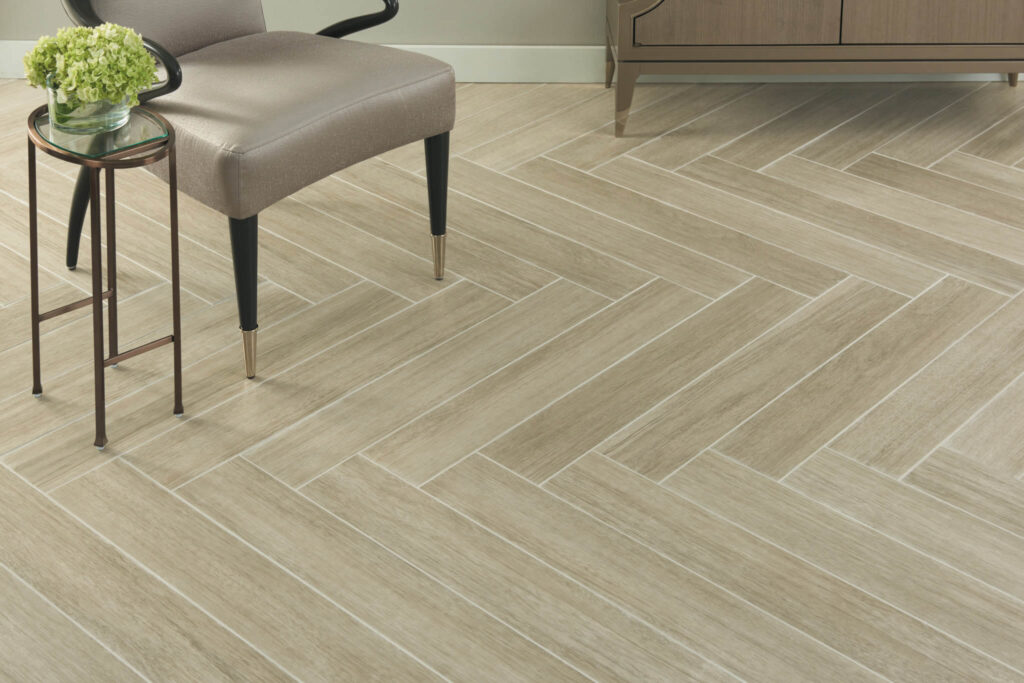
Herringbone flooring with sturdy wood
It is one thing to use herringbone patterns with ceramic tiles. It is another to do the same design using sturdy wood. The herringbone got its name from the herring fish bones are arranged. Meanwhile, the arrangement supports the fish’s movement, which this method amplifies. Click here to get about modern herringbone tiles design.
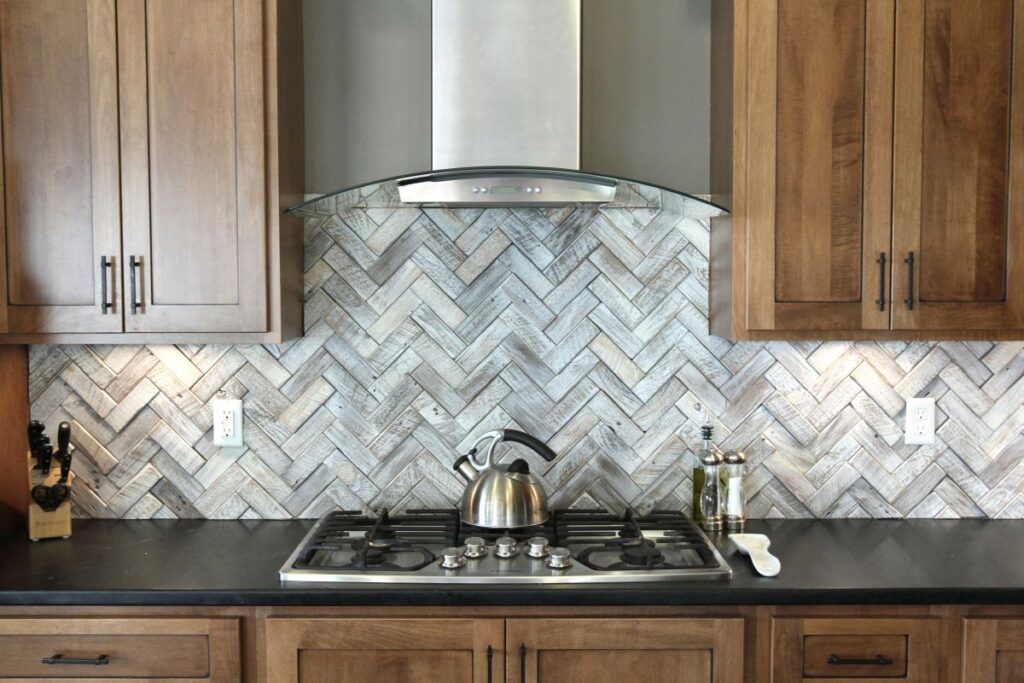
Each tile’s strategic laying and placing can produce a pattern that leads the eye towards the central object for highlight. For instance, you can direct the flow of the method towards the oven, which is then an amplified object. On the other hand, you can redirect this pattern flow towards your clawfoot tub when used in the bathroom.
Terracotta farmhouse backsplash
As the name sounds, you can already guess that this method involves a rustic environment with an associated traditional look. Therefore, this terracotta farmhouse backsplash layout pattern adds the versatility of the farmhouse component with the charm of rustiness. This styling option of herringbone patterns can gather small spaces within the living room and kitchen. It can also welcome a warm environment into the area with ease.
Impressive Tips for laying Herringbone Tiles
You must keep the following general tips close to the heart when working on herringbone tiles.
- Ensure your tile saw is reliable for cutting with precision and less effort.
- Create a template for your layout on the surface.
- Get ready to battle for the exact center point of the room, which is the very first step to making your job easy.
- Apply spacers to ensure that each tile beside each other are uniformly spaced out.
- Mark out tiles that need to be cut out first all through the project before the actual cutting.
- When tiling on a wall, kindly use tape for measurement and as a guide.